Using agents in Visual Studio Code
Agents automate coding tasks by breaking them into steps, using tools to read files, edit code, and run commands, and self-correcting when something goes wrong. For example, instead of suggesting a fix for a failing test, an agent can identify the root cause across files, update the code, rerun the tests, and commit the changes.
Visual Studio Code supports agents that run locally, in the background, or in the cloud. Run any agent type with any model, connect tools and services through MCP servers and Marketplace extensions, and build custom agents tailored to your team.
This article helps you choose the right agent type, create and manage sessions, and hand off tasks between agents.
Understand the agent loop, how agents plan and execute tasks, and how memory and subagents work.

Enable agents in your VS Code settings ( chat.agent.enabled This setting is managed at the organization level. Contact your administrator to change it.). Your organization might also disable agents - contact your admin to enable this functionality.
Types of agents
VS Code supports the following categories of agents, each designed for different use cases and levels of interaction:
- Local agents run interactively in VS Code with full access to your workspace, tools, and models.
- Copilot CLI agents run autonomously in the background on your machine, optionally using Git worktrees for isolation.
- Cloud agents run on remote infrastructure and integrate with GitHub pull requests for team collaboration.
- Third-party agents connect external AI providers like Anthropic and OpenAI, with options for running locally or in the cloud.

Which agent should I use?
Use the following table to find the right agent type for your task:
| I want to... | Use |
|---|---|
| Brainstorm, explore, or iterate on an idea interactively | Local agent |
| Get answers about my codebase | Local agent (Ask) |
| Create a structured implementation plan | Local agent (Plan) |
| Fix an issue that needs editor context (test failures, linting errors, debug output) | Local agent |
| Build and test web apps with the integrated browser (Experimental) | Local agent. See the browser agent testing guide. |
| Use specific VS Code extension tools or MCP servers | Local agent |
| Implement a well-defined task while I keep working | Copilot CLI or Cloud agent |
| Explore multiple variants or proof of concepts | Copilot CLI or Cloud agent |
| Create a PR for team review and collaboration | Cloud agent |
| Assign a GitHub issue to an agent | Cloud agent |
| Use a specific AI provider (Anthropic, OpenAI) | Third-party agent |
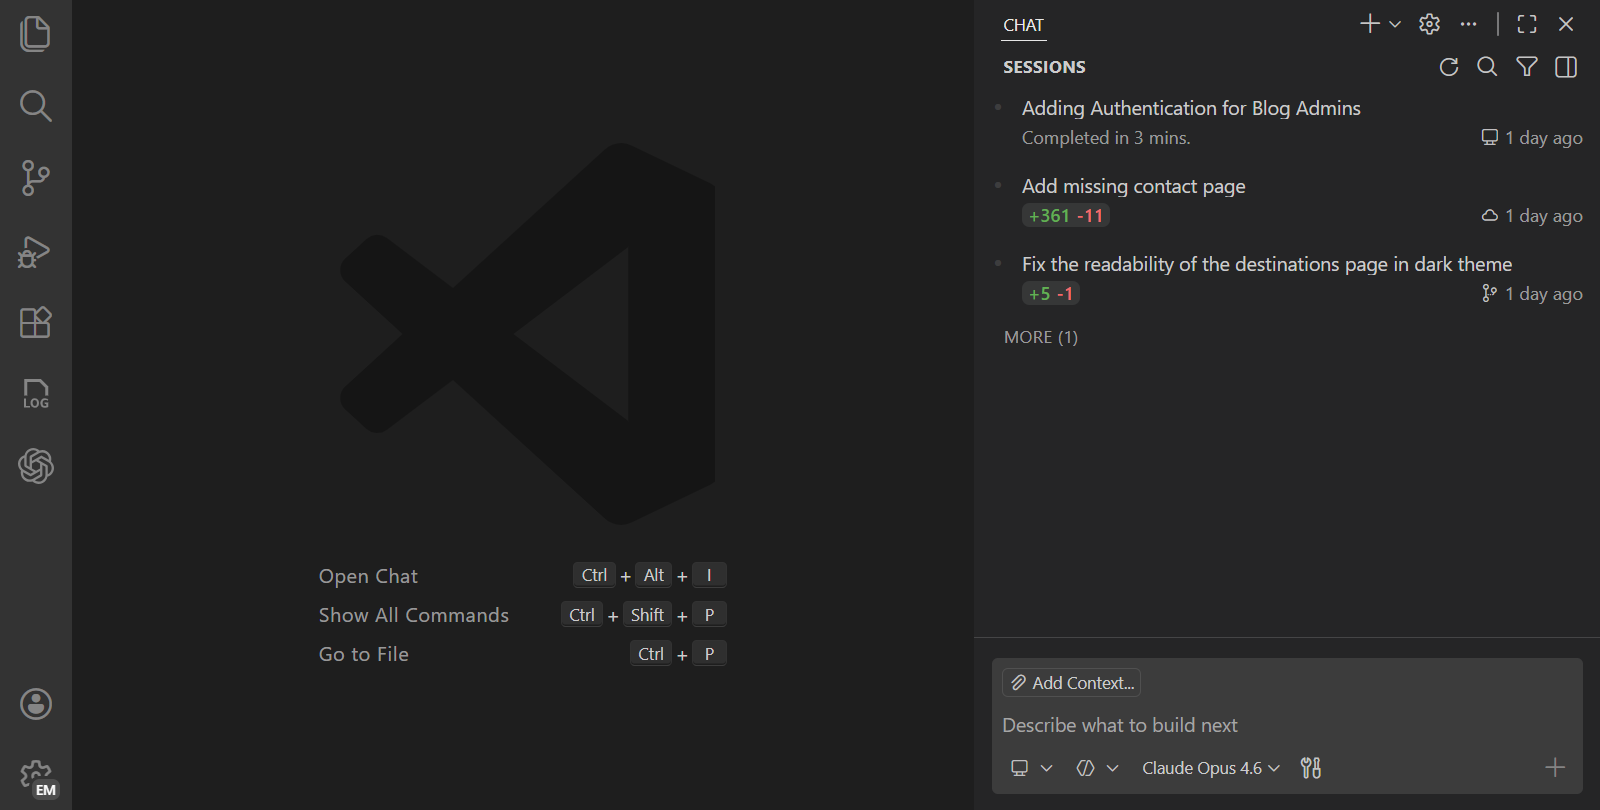
Agent sessions list
The Chat view provides a unified view to manage all your agent sessions, regardless of where they run. By default, it shows your recent sessions, and gives information about their status, type, and file changes. Expand the list to see and filter all your agent sessions.
The list of sessions is scoped to your workspace. If you don't have a workspace open, the list shows all sessions across your workspaces. The sessions are grouped by time periods, such as Today or Last Week.
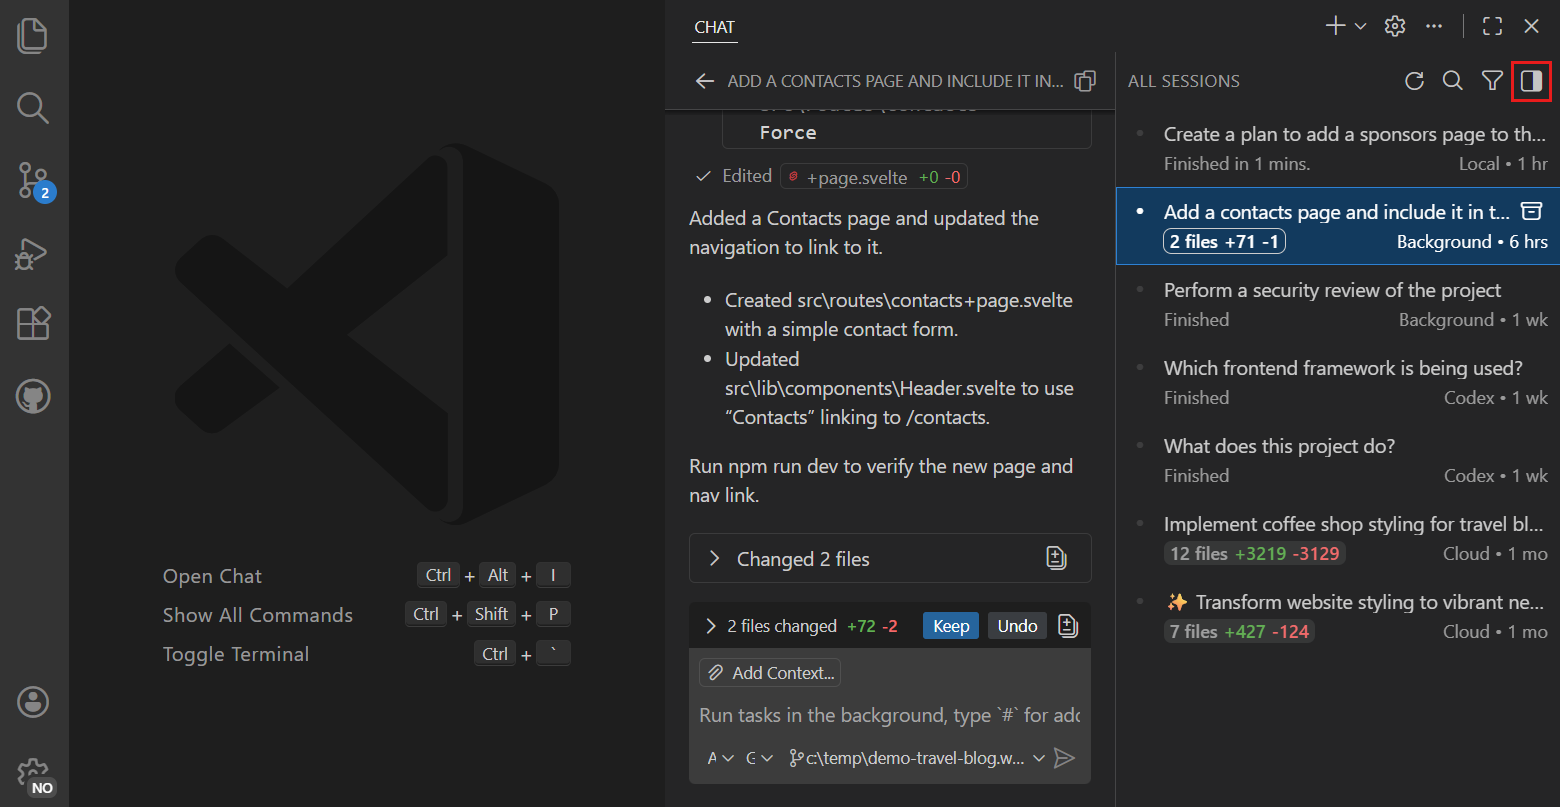
The Chat view operates in two modes: compact and side-by-side. You can manually switch between compact and side-by-side mode by using the toggle control in the top-right corner of the Chat view.
-
Compact:
In compact view, the list of sessions is embedded in the Chat view. When you select a session from the list, the Chat view switches to that session. Use the back button to return to the sessions list.
-
Side-by-side
In side-by-side view, the list of sessions is shown side-by-side with the Chat view. Select a session from the list to view its details in the Chat view.
 Tip
TipWhen you make the Chat view wider, it automatically switches to side-by-side mode. Right-click on the sessions list and select Sessions Orientation to change this behavior ( chat.viewSessions.orientation ). You can also use the toggle button.
Right-click a session in the list to see additional actions, such as different options to open the session details, archive the session, or agent-type specific actions like checking out a pull request (for cloud agent sessions).
To hide the session list from the Chat view, right-click in an empty chat and unselect Show Sessions ( chat.viewSessions.enabled ).
Extension developers can learn how to integrate with the Agents view by using the proposed API chatSessionsProvider. The API is currently in a proposed state and subject to change.
Agent status indicator (Experimental)
The agent status indicator provides quick access to your agent sessions directly from the command center in the title bar. The indicator displays visual badges for unread messages and in-progress sessions, so you can stay informed about your AI agent activity without switching views.

The indicator shows:
- Unread sessions badge: Shows the count of chat sessions with new messages. Select the badge to filter the sessions list to show only unread sessions.
- In-progress sessions badge: Shows the count of sessions with running agents. Select the badge to filter the sessions list to show only in-progress sessions.
- Sparkle icon: Provides quick access to chat and session management options.
You can configure the indicator's behavior by using the chat.agentsControl.clickBehavior setting to toggle chat visibility, cycle through chat states (show, maximize, hide), or focus the chat input.
When a filter is active, the sessions list automatically expands to show all matching sessions. Select the badge again to clear the filter and return to the default view.
The agent status indicator is an experimental feature. Enable it by using chat.agentsControl.enabled . The unread and in-progress indicators require chat.viewSessions.enabled to be enabled.
Create an agent session
You can create multiple agent sessions in parallel, each focused on a different task. When you create a new agent session, the previous session stays active, and you can switch between tasks through the agent sessions list.
When you create a new agent session, it starts with an empty context window. Each agent session is independent, so context from one session doesn't carry over to another.
You can create a new agent session from the Chat view or by using the corresponding commands in the Command Palette.
-
Open the Chat view and select the New Session dropdown (
+).
-
Choose the agent type from the dropdown. Optionally, select a language model from the model picker.

-
Enter a prompt to assign a task to the agent. The agent starts working on the task.
Generate a diagram that gives a high-level overview of the architecture of this project.
You can send follow-up prompts while the agent is still working. Choose to queue the message, steer the current request, or stop and send immediately.
Hand off a session to another agent
You can hand off an existing task from one agent to another agent to take advantage of their unique strengths. For example, create a plan with a local agent, hand off to Copilot CLI for proof of concepts, and then continue with a cloud agent to submit a pull request for team review.
To hand off a local agent session, select a different agent type from the session type dropdown in the chat input box. VS Code creates a new session, carrying over the full conversation history and context. The original session is archived after handoff.

In a Copilot CLI session, delegate to a cloud agent by entering the /delegate command in the chat input box. You can provide additional instructions after the /delegate command.
Assign a coding task to an agent
If you install the GitHub Pull Requests extension, you can assign an agent to implement TODO comments in your code.

On GitHub.com, or by using the GitHub Pull Requests extension, you can assign GitHub issues to Copilot coding agent by assigning the issue to copilot or by mentioning it in an issue comment or pull request to ask for a code review.
Review and apply file changes
When an agent session completes and makes code changes to your project, the session list shows the file change statistics for that session. To review the changes made by the agent, select the session from the list to open the session details.

Depending on the agent type, you have options to apply the changes made by the agent onto your local workspace, or to check out the branch from the agent session (for cloud agents).
Archive agent sessions
To keep the list of sessions organized, archive completed or inactive sessions. Archiving a session doesn't delete it but moves it out of the active sessions list. At any time, you can unarchive a session to restore it to the active sessions list.
To archive a session, hover over the session in the session list and select Archive. After you archive a session, it disappears from the list. Inversely, you can also unarchive a session in the same way.

To view your archived sessions, use the filter options in the sessions list and select the Archived filter.
Delete agent sessions
To permanently delete an agent session, right-click the session in the sessions list and select Delete. Deleting a session removes it permanently and can't be undone. For Copilot CLI sessions, deleting the session also removes any associated worktrees created for that session.
Deleting a session is irreversible. If you just want to hide a session, consider archiving it instead.
Related resources
-
Agents tutorial: Hands-on tutorial for working with different agent types.
-
Tools: Extend agents with built-in, MCP, and extension tools.
-
Hooks: Execute custom commands at lifecycle events for automation and policy enforcement.
-
Custom agents: Create your own AI agents and extensions.